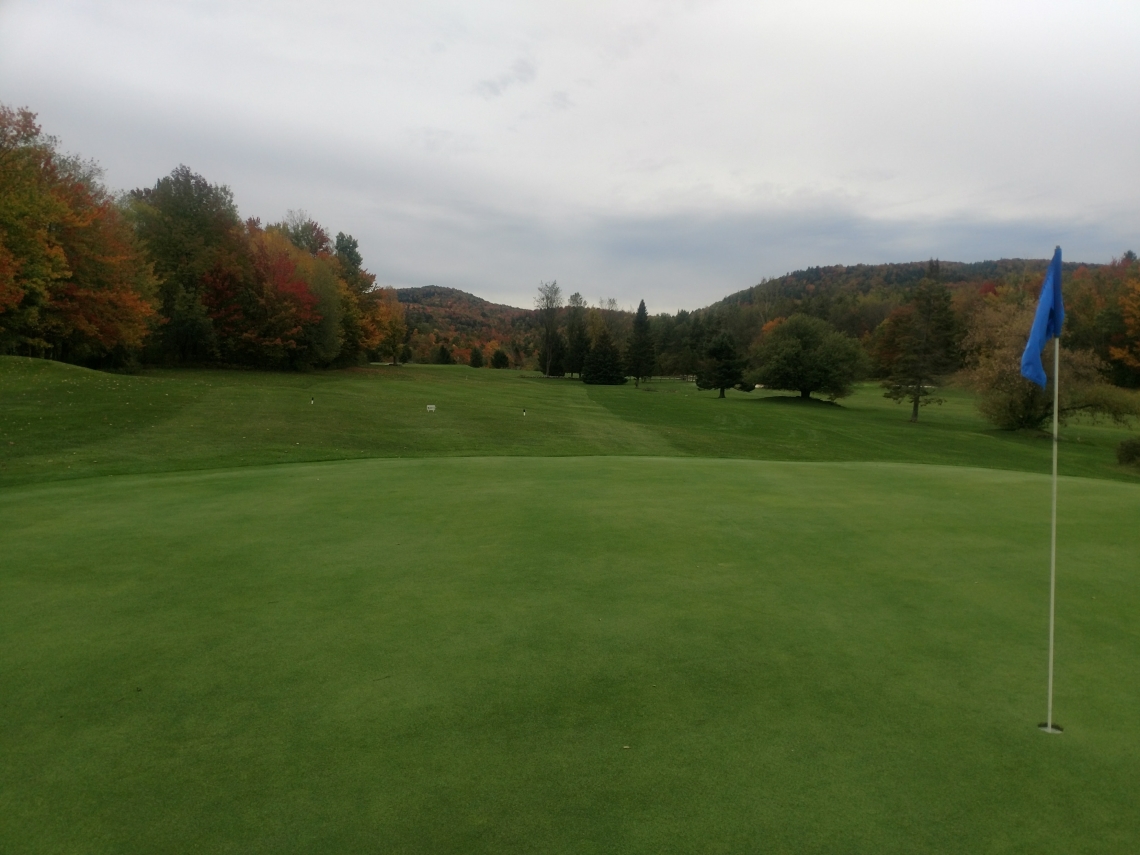
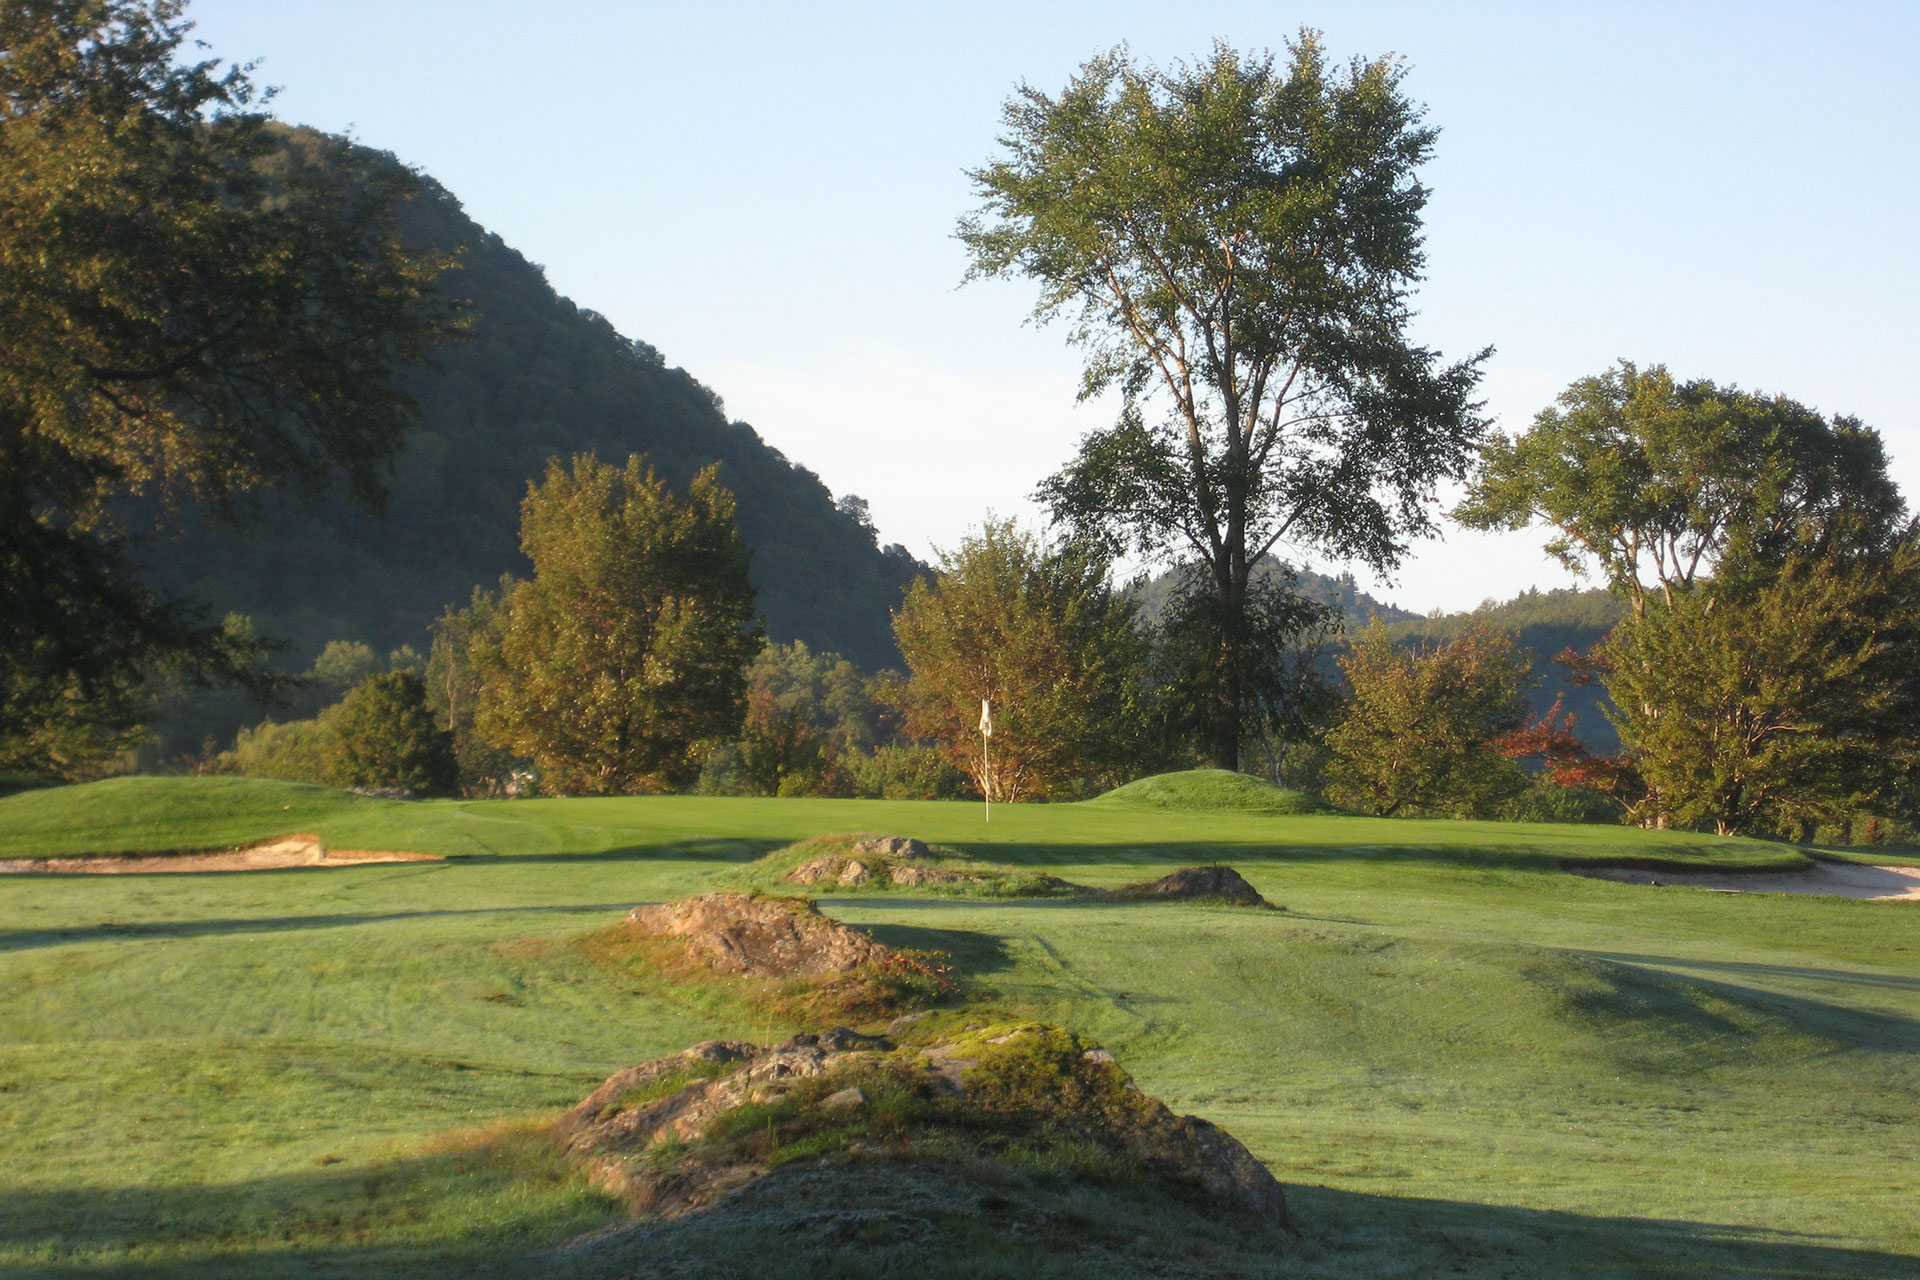
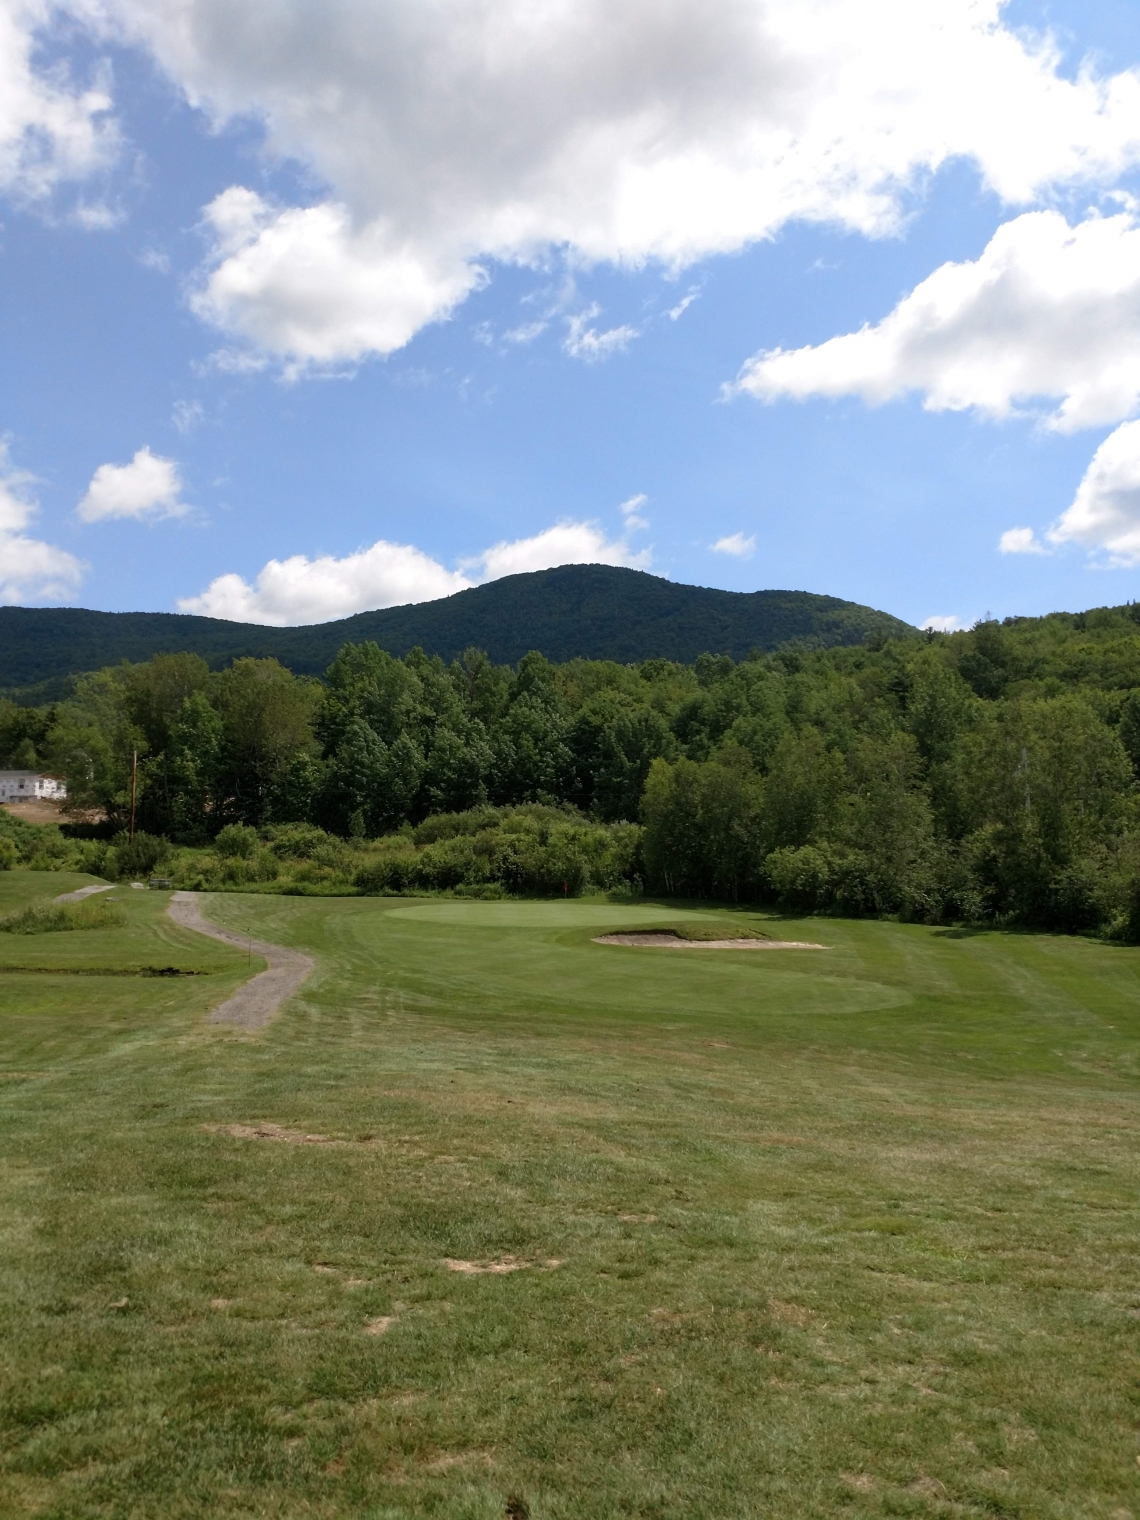
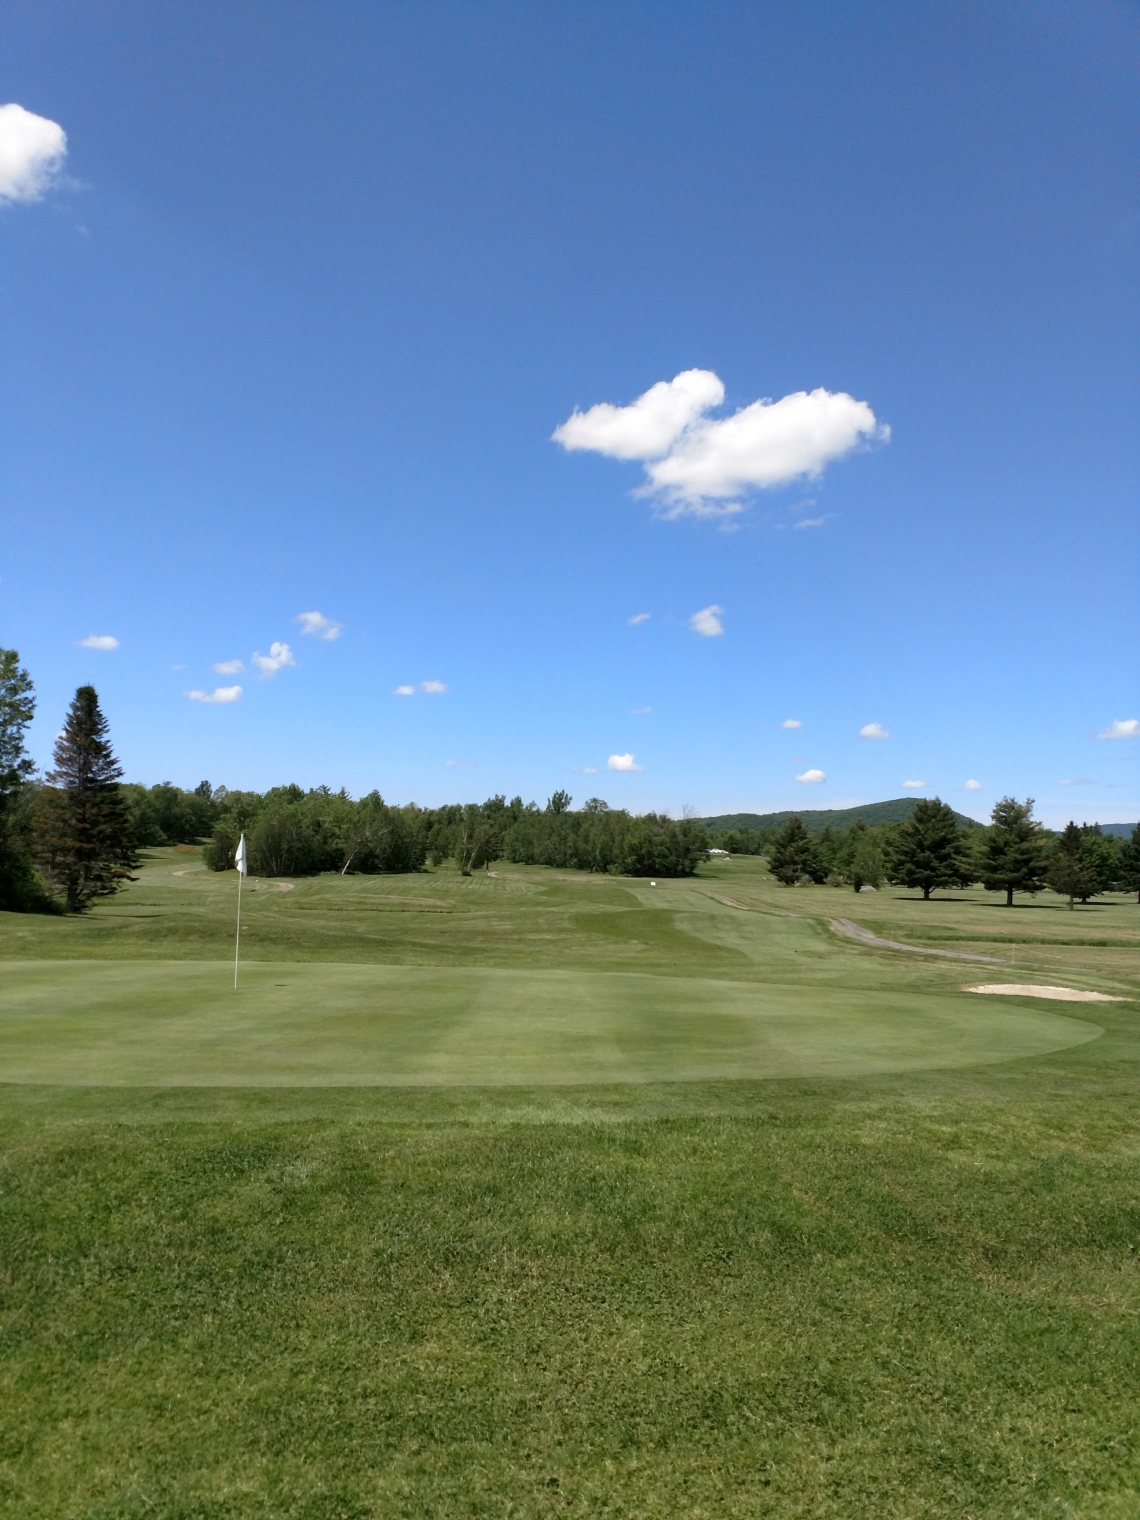
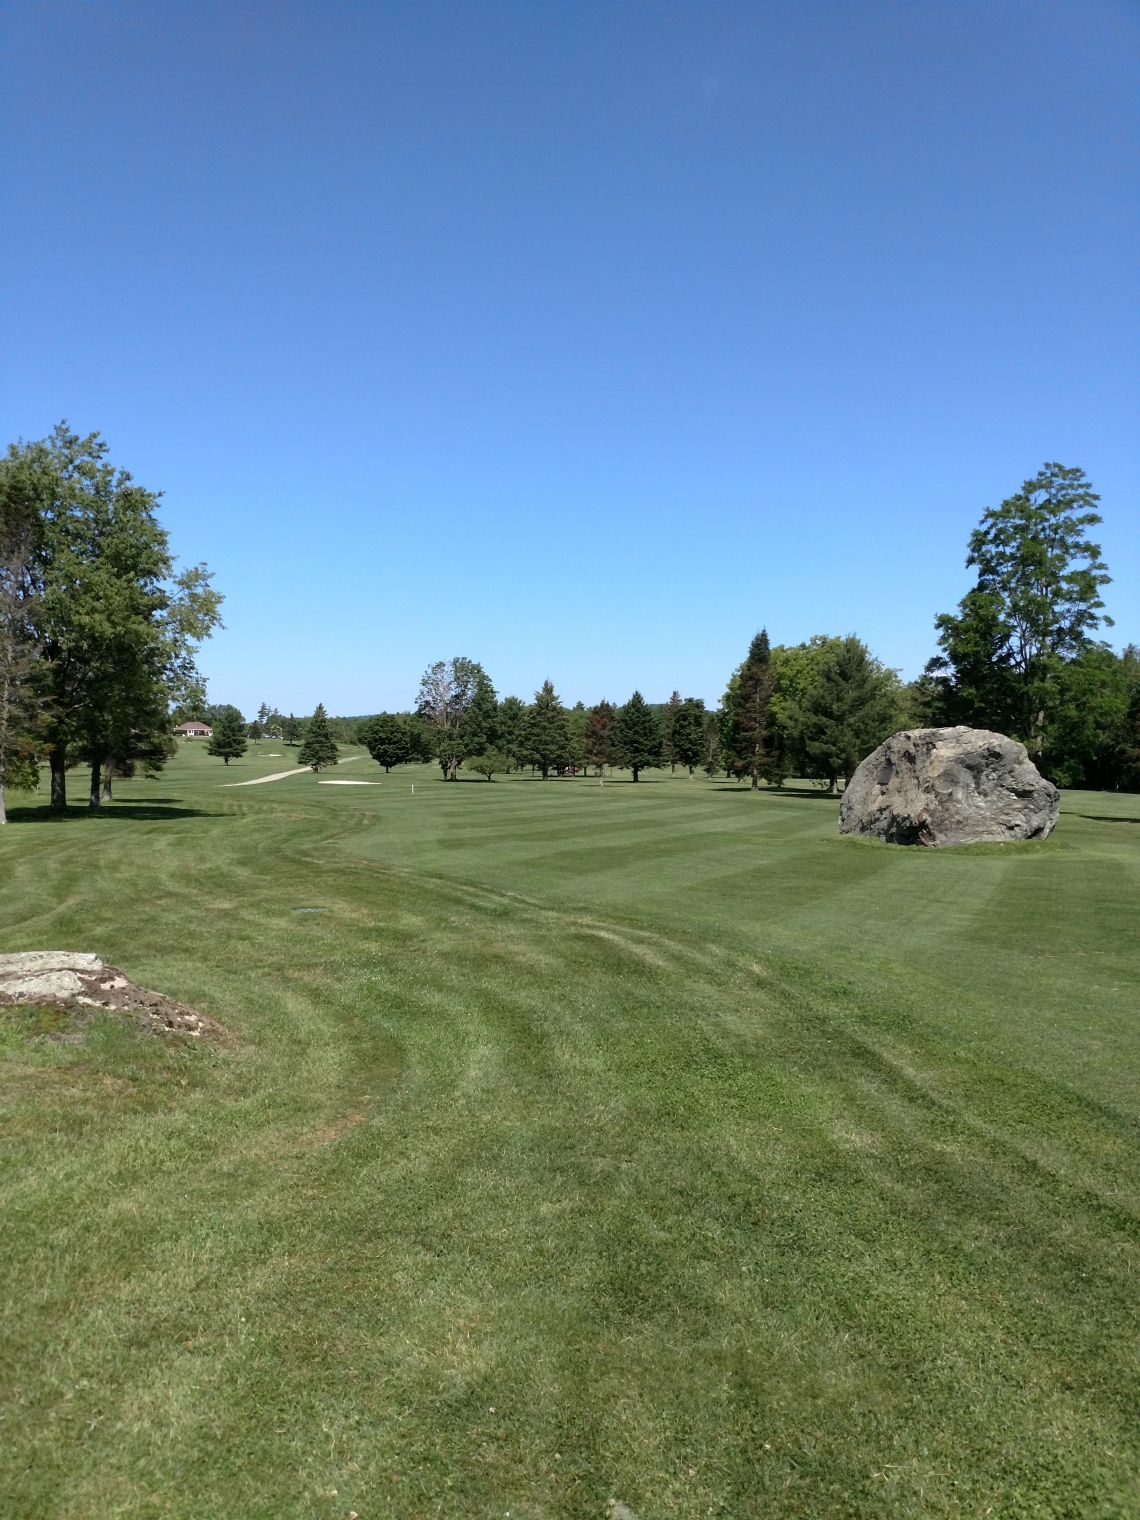
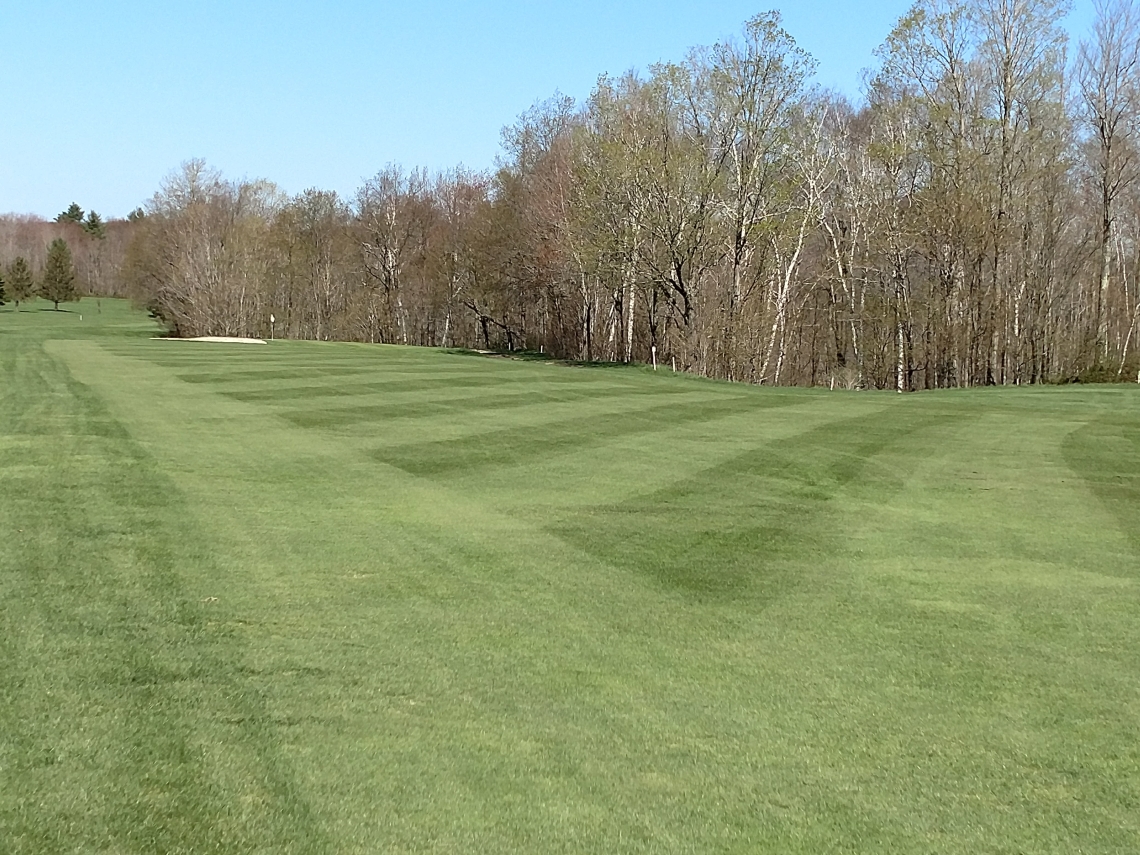
Course Tour
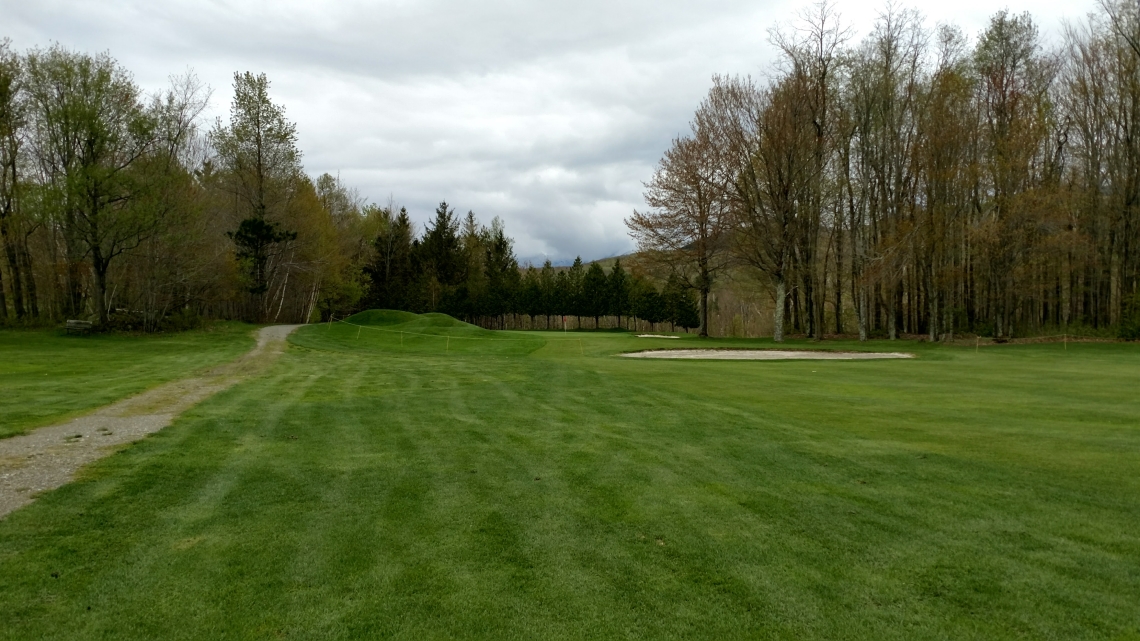
1 - Par 4
Distance from the Tee to the Sand Trap:
Red - 200
White - 215
Blue - 235
2 - Par 5
Distance from the tee to the Pond:
Red - 85
White - 145
Blue - 244
Distance from the Tee Boxes to the Green:
Blue - 600
White - 481
Red - 416
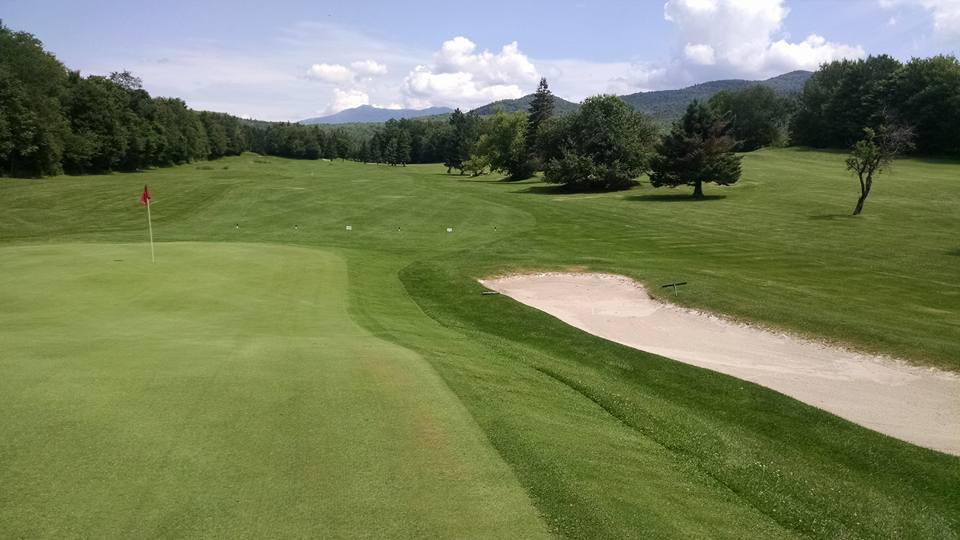
3 - Par 3
A straight forward par 3 that is sure to get the best of everyone once in a while. All the trouble is left and long due to the long steep bank on which the plateau green rests. The best play is to land short and left and allow the hill to kick the ball right and toward the center of the green. As for the rest of the hole, most putts break towards the out-of-bounds woods on the right.
Distance from the Tee Box:
Blue - 149
White - 145
Red - 138
4 - Par 4
5 - Par 4
The number 1 handicap hole on the course is a sharp dogleg right. Your best chance at par on this hole is to hit a drive between 225 and 250 yards toward the five tall spruce trees you can see in the background. Hitting at the 2 spruces to the right of the bunch will put you in the fairway. A tee shot on the top of the hill looking down at the green from 100 to 150 yards is a great place to be. If you can’t see the green on your approach use the large pine as a vantage point. It sits just to the right of the green. The green is two-tiers sloping left to right like everything else at the bottom of the hill. If you miss, miss left for the hill behind the 6th tee box kicks everything right.
Distance From Tee Boxes:
Blue - 353
White - 350
Red - 256
6 - Par 3
A long and challenging par 3 from the tips. From the middle and front tees it’s not as long, but don’t be fooled. The green is the toughest part of this hole and is no stranger to 3 and 4 putts. Make sure to stay below the hole. Chipping and putting from the back of the green is where the danger lies. Three daunting bunkers also protect the green. One on either side and one that cannot be seen from the tee 5 yards off the front left of the green.
Distance from Tee Boxes:
Blue - 191
White - 162
Red - 123

7 - Par 4
Another dogleg right, but this time with a few more options from the tee box. If you choose to hit driver, your best target is the smaller willow tree to the right. Beware, using this target and hitting too long or too left puts you in a lateral hazard and too right and you’re out-of-bounds. A less risky play is to hit a drive 225 yards over the right side of the tallest willow tree that stands above the 150 yard marker. This play will put you about 100 yards from the green. Another firm green, land the ball about 10 yards short and let it run to the green. Land the ball on the back of the green and it might be going for a swim.
Distance from Tee Boxes:
Blue - 329
White - 320
Red - 305
8 - Par 4
A nice par 4 where the tee shot is straight down the middle. Aim at the 150 yard marker and swing away. Some golfers prefer a tee-shot left of the fairway so they can see the green, which lies about 10 feet below the fairway, on their approach. Anything right of the rock wall that separates the 8th hole from the 11th is playable, but a challenge. The green is protected by bunkers left, right, and back.
Distance from Tee Boxes:
Blue - 359
White - 324
Red - 299

9 - Par 4
10 - Par 3
Ranked the easiest hole on the course, the 10th is a short par 3 without much to it. Keep the wind in mind because it often plays a role. The green slopes toward the tee so it’s easy to hold, but makes approach shots from over the green challenging.
Distance from Tee Boxes:
Blue - 138
White - 128
Red - 128
11 - Par 5
Distance from the Tee to the Pond:
Red - 165
White - 240
Blue - 240
Distance from the Tee Boxes to the Green:
Blue - 440
White - 430
Red - 380
12 - Par 4
Distance from the tee to the Pond:
Red - 135
White - 150
Blue - 160
Distance from the Tee Boxes to the Green
Blue - 398
White - 392
Red - 361
13 - Par 5
Distance from the Tee to the Pond:
Red - 75
White - 155
Blue - 195
Distance from the Tee Boxes to the Green:
Blue - 451
White - 419
Red - 317
14 - Par 3
This downhill par 3 looks open and inviting, but is quite the opposite. The green slopes away from the tee and is guarded by three bunkers. Ending up short and straight on this deceptive hole is a good place.
Distance from the Tee Boxes:
Blue - 180
White - 162
Red - 152
15 - Par 5
Distance from the Tee to the first Fairway Bunker:
Red - 170
White - 195
Blue - 240
Distance from the Tee Boxes to the Green:
Blue - 501
White - 424
Red - 389
16 - Par 4
The 16th is a short par 4 with out-of-bounds down the right side and to the back of the green. The smart play is to hit 165 yards from the front tee and 175 yards from the back tee to the 100 yard marker just short of the out-of-bounds. Try to stay to the right side of the fairway for the best angle at the pin on your approach. The green side bunker on the left claims a lot of shots. If you choose the more aggressive play with a fairway metal or a driver, miss left and take note of the waste bunker on the right side of the fairway that runs from 80 yards out all the way to the green.
Distance from the Tee Boxes:
Blue - 280
White - 273
Red - 261
17 - Par 4
This hole is a mid-length par 4 that doglegs downhill to the right. The two tall pine trees standing between the 17th and 18th hole aligning with the left side of the fairway serve as good targets off the tee. Staying left on your tee shot is key to having an easier approach. A bunker to the front right of the green makes the approach challenging from the right hand rough. Another green where landing the ball just short will keep you on the putting surface.
Distance from the Tee Boxes:
Blue - 323
White - 323
Red - 316
18 - Par 4
Distance from the Tee to the Pond:
Blue - 225
White - 130
Red - 125
Distance from the Tee Boxes to the Green:
Blue - 415
White - 327
Red - 318

West Bolton Golf Club Insider
Get the latest news and specials from The West Bolton Golf Club.
Don't miss out!